
Everything about Peperomia ferreyrae — care instructions, how to propagate in water, fix leggy growth, prevent blackening, encourage blooms, and prune like a pro.
HappyPlant.info · Updated May 2026 · 14 min read
🔬SpeciesPeperomia ferreyrae
🌍OriginPeru
📏Max Height~30 cm (12 in)
💧WaterEvery 10–14 days
🌡️Temp18–26 °C
⭐Skill LevelBeginner
📌 Article Keywords & SEO FocusPrimary: happy bean plant care · how to propagate happy bean plant · happy bean plant propagation
Secondary: happy bean plant leggy · happy bean plant turning black · happy bean plant bloom · how to prune happy bean plant · peperomia happy bean plant
Long-tail: how to propagate a happy bean plant · how to propagate happy bean plant in water · how to care for happy bean plant · happy bean plant tall
📋 What’s In This Guide
- What Is a Happy Bean Plant (Peperomia ferreyrae)?
- Happy Bean Plant Care Instructions
- Why Is My Happy Bean Plant Leggy or Tall?
- Happy Bean Plant Turning Black — Causes & Fixes
- Getting Your Happy Bean Plant to Bloom
- How to Propagate a Happy Bean Plant
- How to Propagate Happy Bean Plant in Water
- How to Prune a Happy Bean Plant
- Frequently Asked Questions
What Is a Happy Bean Plant?
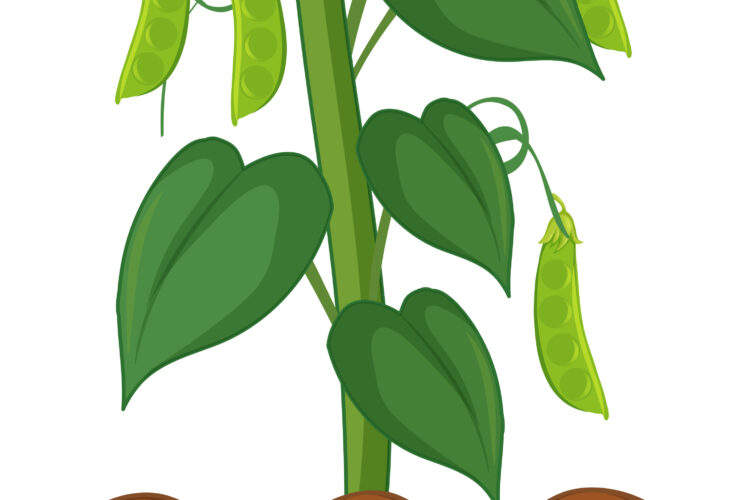
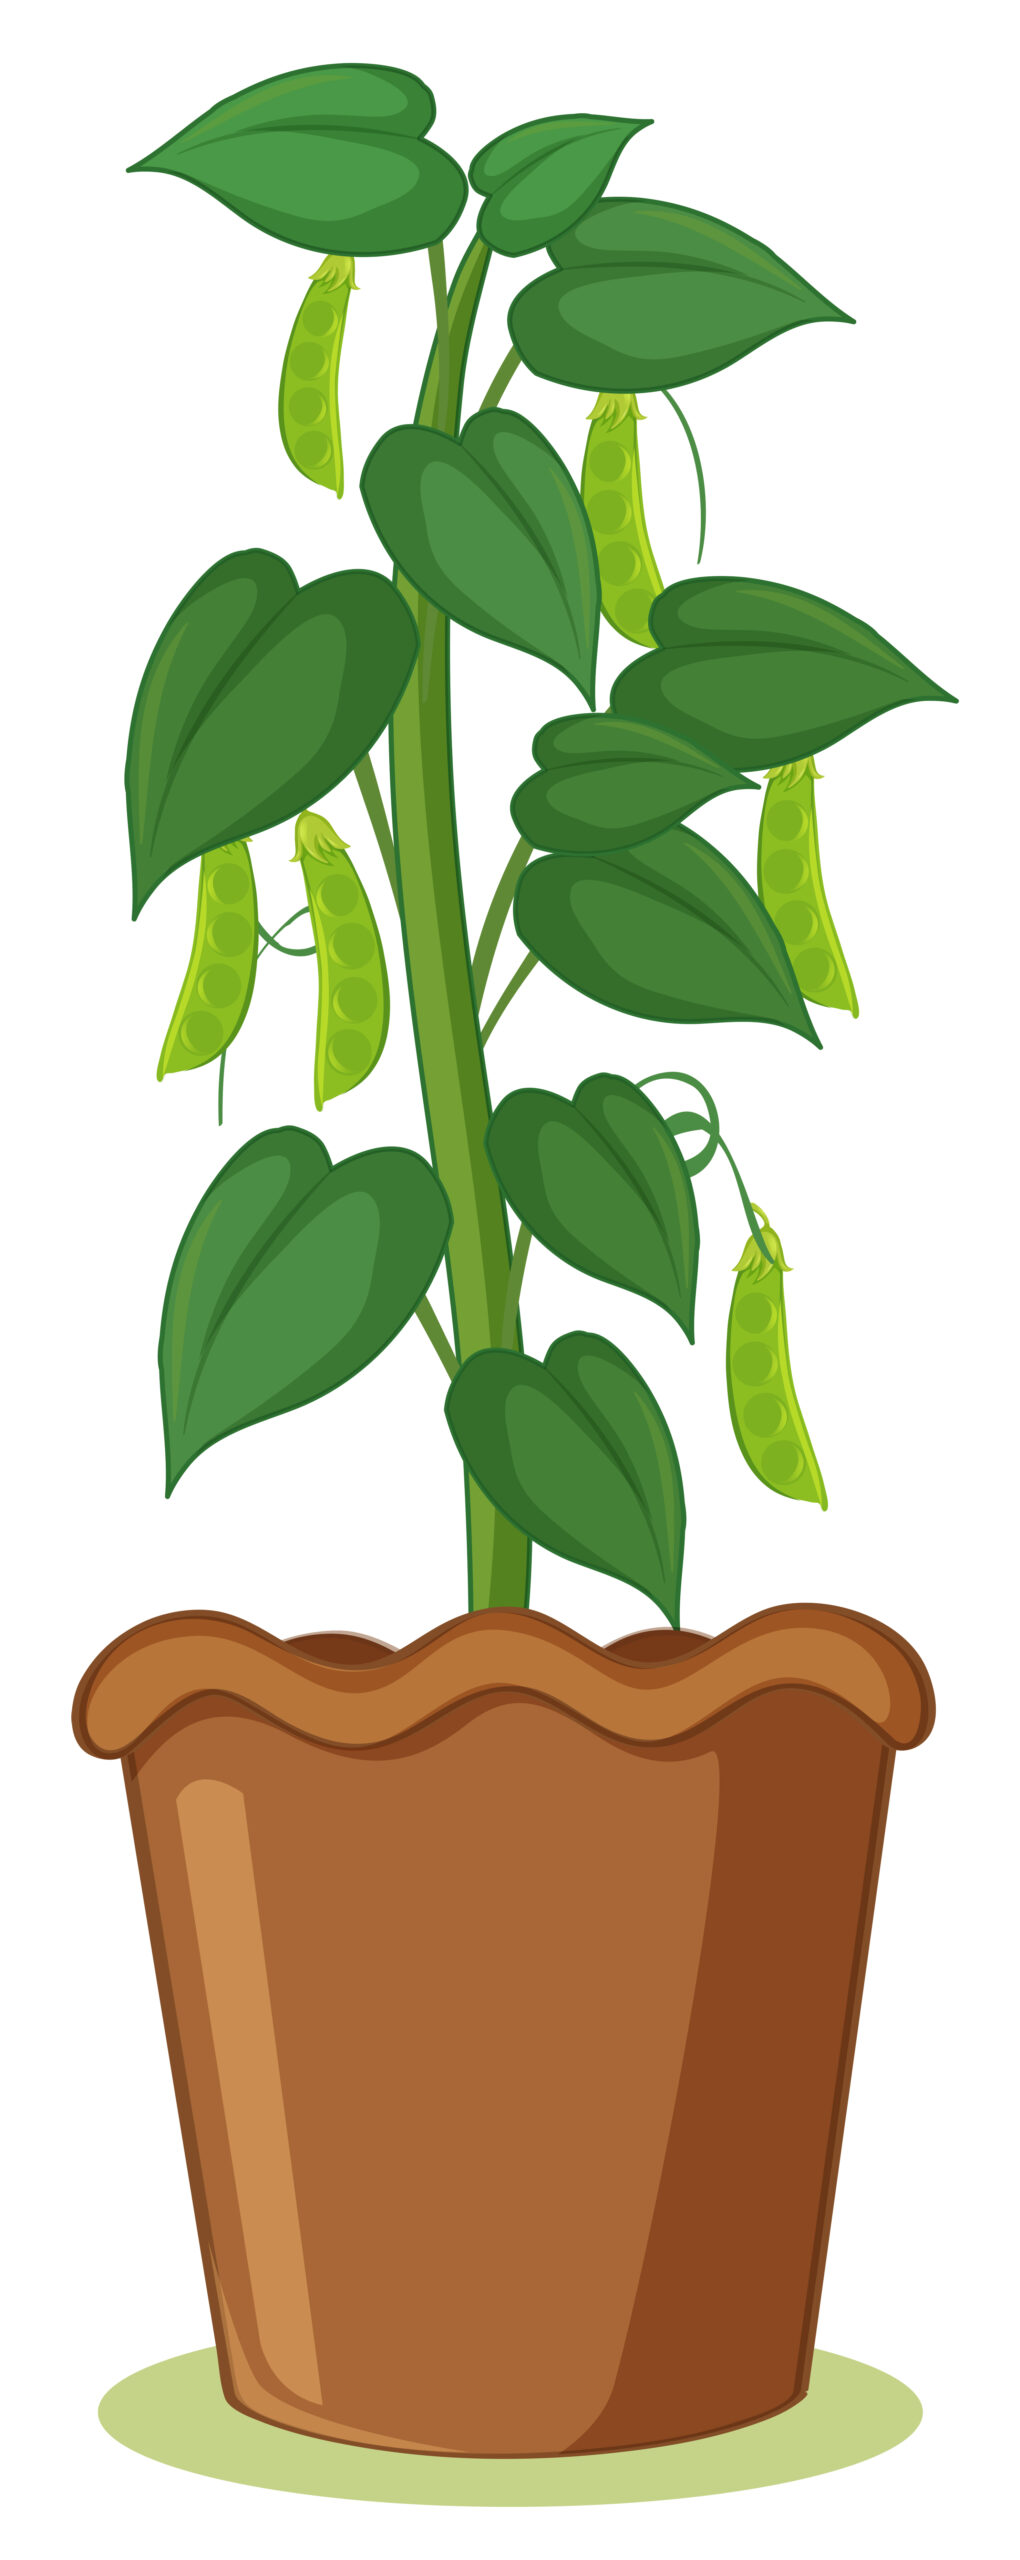
The happy bean plant — scientifically named Peperomia ferreyrae — is a charming succulent-like houseplant from the rainforests of Peru. Its name comes from its distinctive leaves: slender, cylindrical, and curved like little green beans, each with a translucent “window” strip along the top that allows light to reach the inner tissues. A cluster of healthy happy beans plants really does look like a bowl of freshly-picked green beans, which makes it one of the most visually unique plants you can grow indoors.
Part of the vast Peperomia family (which contains over 1,000 species), the peperomia happy bean plant has surged in popularity thanks to its compact size, low water requirements, and ability to thrive in typical home conditions. It’s an ideal choice for small spaces, windowsills, shelves, and anyone who loves unusual foliage.
🔬
Botanical Name
Peperomia ferreyrae (also sold as Peperomia ‘Happy Bean’)
🌿
Family
Piperaceae — related to black pepper
🏔️
Origin
Peruvian rainforest understory — cool, bright, and humid
🏡
Best For
Windowsills, desks, shelves, terrariums, and small spaces
For a full taxonomic reference, the Global Biodiversity Information Facility (GBIF) maintains verified species records for Peperomia ferreyrae. You can also explore the broader Peperomia genus on the Royal Horticultural Society (RHS) plant database.
Happy Bean Plant Care Instructions
Knowing how to care for a happy bean plant starts with understanding its origins. In Peru’s rainforest understory, it grows under a canopy that provides bright but filtered light, occasional dry periods, and good air circulation. Replicate those conditions indoors and your happy beans plant will reward you with dense, glossy foliage.
| Care Factor | Ideal Condition | Rating |
|---|---|---|
| 💡 Light | Bright indirect light; 4–6 hrs daily | Essential |
| 💧 Watering | Every 10–14 days; let soil dry between waterings | Don’t overdo |
| 🌡️ Temperature | 18–26 °C (65–80 °F) | Flexible |
| 💦 Humidity | 40–50 % — tolerates average home humidity | Easy |
| 🪴 Soil | Well-draining cactus/succulent mix or perlite-enriched potting compost | Critical |
| 🌾 Fertiliser | Half-strength balanced liquid feed monthly (spring–summer only) | Light feeder |
| 🔁 Repotting | Every 2 years or when root-bound | Low effort |
| ☠️ Toxicity | Non-toxic to humans, cats & dogs | Pet safe |
Light Requirements
The happy bean plant performs best in bright, indirect light. An east or west-facing windowsill is ideal — enough brightness to keep the plant compact and vivid green, without the intensity of direct afternoon sun that can scorch the delicate leaf tips. If your space is naturally dim, supplement with an LED grow light for 8–10 hours per day. The University of Maryland Extension’s houseplant guide has excellent advice on measuring light levels at home using a simple lux meter.
Watering
Happy bean plants store water in their thick, fleshy leaves — making them drought-tolerant but highly vulnerable to overwatering. Always allow the top half of the soil to dry out completely before watering again. In summer this may mean watering every 10 days; in winter, stretch to every 3 weeks. Bottom watering (sitting the pot in a tray of water for 20 minutes) is an excellent technique that encourages deep root growth and prevents water from sitting on the stems.
Soil & Potting
Use a well-draining mix — a 50/50 blend of standard potting compost and perlite works perfectly. Alternatively, a ready-made cactus/succulent mix is an easy option. Drainage is non-negotiable: always use a pot with drainage holes. Terracotta pots are particularly well-suited because they allow excess moisture to evaporate through the walls, reducing root rot risk.
Fertilising
Feed monthly through spring and summer with a balanced liquid fertiliser diluted to half the recommended strength. Stop feeding entirely in autumn and winter. Because the happy bean plant is a light feeder, over-fertilising causes salt build-up in the soil, which manifests as brown leaf tips or yellowing. Flush the soil with plain water every 3–4 months to remove accumulated salts.
Top tip: The happy bean plant is non-toxic to cats, dogs, and humans — making it one of the safest pet-friendly houseplants you can own. Confirm pet safety for any plant at the ASPCA’s Toxic and Non-Toxic Plant Database.
📏Why Is My Happy Bean Plant Leggy or Too Tall?
A leggy happy bean plant — one with long, stretched-out stems, wide spacing between leaves, and a general loss of that compact bushy shape — is one of the most common problems growers encounter. Understanding why it happens makes fixing it straightforward.
The Primary Cause: Insufficient Light
When a happy bean plant tall and spindly appearance develops, low light is almost always the culprit. In poor light conditions, the plant stretches its stems in search of more energy — a survival mechanism called etiolation. The internodal spacing (the gap between each leaf along the stem) becomes longer, the plant leans toward the nearest light source, and the leaves may look paler than usual.
🪟
Move It Closer
Relocate to within 30–60 cm of a bright window. Even a metre’s distance can halve the light intensity a plant receives.
💡
Add a Grow Light
A full-spectrum LED grow light placed 20–30 cm above the plant for 10 hours daily corrects leggy growth within weeks.
🔄
Rotate Weekly
Turn your pot a quarter turn each week so all sides receive equal light, preventing the plant leaning to one side.
Other Causes of Legginess
While light is the leading cause, over-fertilising (too much nitrogen pushes fast, weak growth) and overwatering (waterlogged roots limit nutrient uptake, causing pale stretched growth) can also contribute. Once you’ve improved the light conditions, prune the leggy stems back — see the pruning section below — to encourage a bushier, more compact shape. New growth from a well-lit plant will be tight and lush.
Measuring light: Download a free lux meter app on your smartphone (search “lux meter” in your app store) and measure the light level at your plant’s current position. Happy bean plants do best at 2,000–10,000 lux. Anything below 1,000 lux will cause progressive leggy growth.
🖤Happy Bean Plant Turning Black — Causes & Fixes
Seeing your happy bean plant turning black is alarming, but with swift action most plants can be saved. Blackening typically starts at the stem base or leaf tips and spreads if the underlying cause isn’t addressed. Here’s how to diagnose and fix each scenario.
| Symptom | Likely Cause | Fix |
|---|---|---|
| Black, mushy stem base | Root rot (overwatering + poor drainage) | Unpot immediately; cut rotten roots; repot in dry fresh mix; withhold water 2 weeks |
| Black leaf tips | Cold damage, draught, or fertiliser burn | Move away from cold windows/vents; reduce feed; flush soil |
| Black spots on leaves | Fungal infection (often from overhead watering) | Remove affected leaves; apply neem oil; water at soil level only |
| Entire leaves turning black | Severe overwatering or frost damage | Remove affected leaves; assess roots; relocate to a warmer spot |
| Black rings on stems | Pythium fungal infection | Remove infected sections; treat remaining plant with a copper-based fungicide |
🚨 Root Rot Emergency Protocol: If the stem base is black and soft, act immediately. Unpot the plant, shake off all soil, and inspect the roots. Healthy roots are firm and white or pale tan — rotten roots are brown, black, and mushy. Cut all rotten sections back to healthy tissue using sterilised scissors, dust cuts with ground cinnamon (a natural antifungal), and repot into completely dry, fresh cactus mix. Do not water for 10–14 days.
Prevention Is Better Than Cure
The vast majority of blackening issues in happy bean plants trace back to excess moisture. Use the “chopstick test” — insert a chopstick into the soil; if it comes out clean and dry, it’s time to water. If soil clings to it, wait. For deeper understanding of root rot biology, University of Minnesota Extension’s guide to houseplant root rot is a trusted, peer-reviewed resource.
🌸Getting Your Happy Bean Plant to Bloom
The happy bean plant bloom is a modest but charming affair — thin, upright spikes (called rat-tail inflorescences) emerge from the centre of the plant, typically in spring or early summer. While the flowers are small and not dramatically showy, they signal that your plant is thriving and content.
Conditions That Trigger Blooming
☀️
Bright Light
Adequate light is the single biggest trigger for blooming. Increase light exposure in late winter to initiate spring flowering.
❄️
Mild Winter Cool
A slight temperature drop (15–17 °C) in winter mimics seasonal cues from the plant’s native Peru and encourages spring blooms.
🌾
Phosphorus Feed
Switch to a fertiliser with higher phosphorus (the middle number in NPK) in late winter — phosphorus specifically promotes flowering.
🪴
Slight Root-Bound
Happy bean plants sometimes bloom more readily when slightly pot-bound. Resist repotting annually — wait until roots visibly escape the drainage holes.
Should I remove the flower spikes? Peperomia flower spikes are harmless but if you find them unsightly you can snip them off at the base without harming the plant. Removing spent spikes may redirect energy to foliage growth.
✂️How to Propagate a Happy Bean Plant
Learning how to propagate a happy bean plant unlocks one of the most rewarding aspects of plant ownership — multiplying your collection for free. Happy bean plant propagation is beginner-friendly and has a high success rate. There are three main methods: stem cuttings in water, stem cuttings in soil, and leaf cuttings.
Method 1: Stem Cuttings in Soil (Most Reliable)
Choose a Healthy Stem
Select a stem with at least 3–4 healthy bean-shaped leaves and no signs of pests, disease, or discolouration. A stem length of 8–10 cm is ideal.
Make a Clean Cut
Using sterilised scissors or a sharp, clean knife, cut just below a leaf node at a slight angle. Sterilise your tool with 70% isopropyl alcohol between cuttings.
Remove the Lower Leaves
Strip the bottom 2–3 leaves from the cutting, exposing 2–3 cm of bare stem. These nodes are where roots will develop.
Allow to Callous (Optional but Helpful)
Leave the cutting in a warm, dry spot for 1–2 hours so the cut end can form a light callous. This significantly reduces the risk of rot when placed in soil.
Dip in Rooting Hormone
Dip the cut end in rooting powder or gel (available from garden centres). This is optional but speeds up root development noticeably.
Plant in Moist Perlite or Cactus Mix
Insert the bare stem section into slightly moist perlite or a 50/50 perlite/potting compost mix. Place in bright indirect light and keep the medium barely moist.
Wait for Roots (3–5 Weeks)
Roots typically develop in 3–5 weeks. Test by gently tugging — if you feel resistance, roots have formed. Pot up into standard happy bean compost once roots are 2–3 cm long.
Method 3: Leaf Cuttings
Happy bean plants can also be propagated from individual leaf cuttings, though this method is slower. Remove a healthy leaf with its petiole (short stem) intact, lay it on the surface of moist perlite, and press the petiole lightly into the medium. New plantlets emerge from the base of the petiole in 6–10 weeks. Keep covered loosely with a clear bag to maintain humidity. For a thorough reference on houseplant propagation techniques, visit University of Minnesota Extension’s propagating houseplants guide.
💧How to Propagate Happy Bean Plant in Water
Water propagation is a popular method because it lets you watch roots developing in real time — deeply satisfying and a great way to track progress. Here’s the complete guide on how to propagate happy bean plant in water.
Take Your Cutting
Follow steps 1–3 from the soil method above: select a healthy stem, make a clean angled cut below a node, and remove the bottom 2–3 leaves.
Choose the Right Container
Use a small, clean glass or jar — a narrow-necked bottle works well as it supports the stem. Dark or opaque vessels help prevent algae growth. Fill with clean, room-temperature water.
Position the Cutting
Place the cutting so that the bare stem nodes are submerged but the leaves are entirely above the waterline. Leaves sitting in water will rot and introduce bacteria.
Place in Bright Indirect Light
Set the jar on a windowsill with bright indirect light. Avoid direct sun — warm water promotes bacterial growth. Maintain a stable temperature of 20–24 °C.
Change the Water Weekly
Refresh with clean, room-temperature water every 5–7 days to keep it oxygenated and prevent bacterial build-up. If the water turns cloudy, change it immediately.
Watch for Roots
Fine white roots should appear within 2–4 weeks. Allow them to grow to at least 3–4 cm before potting up — longer roots establish better in soil.
Transition to Soil Gradually
Water-grown roots are more fragile than soil-grown roots. Ease the transition by potting into moist (not wet) perlite first for 2 weeks, then into standard happy bean soil mix. Water sparingly for the first fortnight.
⚠️ Water prop tip: Adding a tiny piece of activated charcoal to the propagation jar keeps the water fresher for longer and inhibits bacterial and algal growth — a simple trick used by experienced propagators.
✂️How to Prune a Happy Bean Plant
Knowing how to prune a happy bean plant keeps your plant compact, bushy, and attractive — and produces ready-made cuttings for propagation. Pruning is especially important if your plant has become leggy or overgrown.
When to Prune
The best time to prune is in spring or early summer, just as the active growing season begins. This gives the plant the energy and warmth needed to regenerate quickly. Light tidying (removing dead or damaged leaves) can be done year-round.
Step-by-Step Pruning Guide
Sterilise Your Tools
Wipe scissors or pruning shears with 70% isopropyl alcohol before and after use. This prevents spreading any potential infection between plants.
Identify What to Remove
Look for leggy, elongated stems; dead, damaged, or blackened leaves; stems that are crossing and rubbing; and any growth that disrupts the plant’s overall shape.
Cut Above a Node
Make each cut just above a leaf node (the point where a leaf joins the stem) at a 45-degree angle. New growth will sprout from below the cut point, creating a fuller, bushier plant.
Don’t Over-Prune
Remove no more than one-third of the plant’s total foliage in a single session. Over-pruning stresses the plant and slows recovery. If significant reshaping is needed, spread it across two sessions 4–6 weeks apart.
5
Save the Cuttings
Any healthy stem removed during pruning is a free propagation cutting. Follow the water or soil propagation steps above to start new plants from your prunings.
6
Aftercare
Place the pruned plant in its best light position and hold off fertilising for 2–3 weeks while it recovers. Resume normal watering — do not over-water post-pruning.
Pruning = propagating: Every stem you prune during shaping is a potential new happy bean plant. Collect your cuttings in a small vase of water and you’ll have rooted starts to share with friends within a month.
❓Frequently Asked Questions
Why is my happy bean plant leggy?
A leggy happy bean plant is almost always caused by insufficient light. The plant stretches its stems toward available light in a process called etiolation. Move it to a brighter spot with bright indirect light, or add a full-spectrum LED grow light. Once you’ve improved the light, prune the leggy stems back to a node to encourage bushier new growth.
How do I propagate a happy bean plant in water?
Take a 8–10 cm stem cutting, remove the bottom 2–3 leaves, and place the bare stem in a clean glass of room-temperature water. Keep in bright indirect light, change the water weekly, and roots will appear within 2–4 weeks. Once roots reach 3–4 cm, transition to moist perlite for two weeks before potting into standard compost.
Why is my happy bean plant turning black?
Blackening — especially at the stem base — almost always indicates overwatering and root rot. Act quickly: unpot the plant, cut away all black, mushy roots, dust with cinnamon, and repot in fresh dry mix. Leaf blackening from tips inward can indicate cold damage, draught, or fertiliser burn. Remove affected leaves and adjust conditions accordingly.
How often should I water my happy bean plant?
Water every 10–14 days in the growing season (spring–summer) and every 3 weeks in autumn–winter. Always check the soil first — wait until the top half of the soil is dry. The happy bean plant’s fleshy leaves store water, making it drought-tolerant but very susceptible to overwatering.
Will my happy bean plant bloom indoors?
Yes — a happy bean plant bloom is possible indoors when conditions are right. Provide bright indirect light, a slightly cooler winter period (15–17 °C), and switch to a higher-phosphorus fertiliser in late winter. Flower spikes typically appear in spring and can be left on or removed without harming the plant.
Is the happy bean plant safe for pets?
Yes — the peperomia happy bean plant is non-toxic to cats, dogs, and humans according to the ASPCA. It’s one of the safest houseplants for pet-friendly homes. Always confirm at the ASPCA Non-Toxic Plant Database.
How do I make my happy bean plant bushy instead of tall?
To prevent a tall, leggy happy bean plant: maximise light, prune leggy stems back above a node in spring, and avoid over-fertilising with high-nitrogen feeds. Each pruned stem produces two or more new branches, resulting in a progressively fuller, denser plant.
What is the best soil for a happy bean plant?
A well-draining mix is essential. Use a 50/50 blend of standard potting compost and perlite, or a ready-made cactus and succulent mix. Good drainage is more important than fertility — soggy soil is the single biggest threat to happy bean plant health.

0 Comments